Well, it's been a hot minute but I finally have an update for this (very neglected) blog!
It's been a year (or three) of starts and stops. Despite the radio silence I've actually been working on quite a few slow-burn projects, including two that didn't quite go to plan.
First, I was in an early-period mood after re-watching the excellent "Tudor Monastery Farm" and managed to source some absolutely lovely wool for a Brueghel inspired outfit...
But shortly after I started patterning, Samantha Bullat, of the Couture Courtesan, posted her AMAZING recreation of the same gown (seriously, go watch the video if you haven't. It's fantastic)
Now, that's not a comparison I'm eager to invite.
Having said that, I spent WAY too much on fabric to abandon the idea completely so I will definitely be coming back to it at some point the future...but for now I decided to switch gears and shift focus to another outfit which --at the time-- I'd been planning for about 2 years: Lucas de Heere's market woman.
(which was suddenly very pandemic/PPE appropriate)


Again, I found some great fabric and --I kid you not-- the day after it arrived the Tudor Tailor ladies posted their stunning interpretation (Though, given the situation in 2020 I suspect more than a few people had the same idea).
So that one also went on the back burner.
And with my rolodex of inspiration quickly running low, I finally turned to the painting I'd been wanting to reproduce since the moment I first saw it: Pieter Aertsen's Market Scene (specifically the woman in the green kirtle).
 |
| Pieter Aertsen, Market Scene circa 1560-65 |
Now, I'm a sucker for green outfits and had been on the lookout for the right wool for at least the last couple of years. I finally found it at Renaissance Fabrics; a lightly brushed olive green twill in a light to medium/light weight.
And I jumped right in.
To begin with, the painting is rather unclear as to what the front of the kirtle looks like. There seems to be low, white linen partlet which may or may not tie under the arms. Over this a black partlet (possibly with a rounded front and low back) is likely pinned.
But as to the closures and the front of the gown, that remains obscured...at least in the images I was able to find. Unfortunately I was never able to locate a high-res version which may have hinted at more details.
Many of Aertsen's other market and kitchen scenes feature women with wide lacing kirtles and (often) a contrasting stomacher.
However, this was a road I didn't really want to go down.
A large part of what attracted me to this image in the first place was the green kirtle and red sleeves; complimentary colours that literally could not be better suited to each other. Combined with the brown apron and stark black and white of the partlets, the outfit seemed very visually balanced and I didn't want to expand the palette any further.
So instead I decided to take a cue from the woman in the back of the painting. She's wearing a simple tawny kirtle which laces at the front. It has a slight gap but no stomacher.
And let's be honest, it was also a style of kirtle I'd made previously and knew I could knock out relatively quickly...
Unfortunately, I was in such a rush to finish that I don't really have any process pictures
at all. It's basically the same pattern as my
blue Trevelyon gown but with the sleeves left off.
Like the Trevelyon gown, the front is boned with spring steal at the lacing edge and synthetic whalebone (intermittently, skipping ever other channel).
I also shortened the front point and added about 1/2" to either side of the front opening with the intention that it would close completely. But then lockdown (and lockdown snacking) continued and it, well...didn't.
Oh, well.
You can see that, unlike the blue gown (and many of my other kirtles), this doesn't have hidden internal lacing strips. Instead, the eyelets are worked directly into the kirtle between two boning channels (again, see previous post for rough boning layout).
The eyelets are off-set for spiral lacing.

The kirtle is lined in brown linen cannibalized from my first brown kirtle (which sadly did not survive a stint in the washer/dryer...back in the day when I thought you had to completely launder your costumes). As with the Trevelyon gown, the lining of the skirt is free-falling, effectively creating an integral linen underskirt.
Other accessories include a pair of wool pin-on sleeves:

Well, I say pin-on...
In truth I've never had any luck with pins and sleeves (they usually result in stabbing and sore shoulders), so instead I cheated with set of hook and eyes.
The sleeves also have a fold permanently worked into the sleeve head; both to help with the drape over the shoulder and as a theatrical cheat to more closely resemble the folds of the sleeves in the original painting.

The sleeves are hooked into an eye set behind the shoulder seam (though I added two since I wasn't sure where the sleeve would sit more comfortably).


Next up is brown linen apron.
It's a 26.5"x 36.5" rectangle, finished on all sides and with the middle 16" whip stitched to a matching 1/4" band.

Also making an appearance is my trusty white partlet.
As seen in period images, this style of partlet is pinned at the front corners and then ties (attached to the back corners) are wrapped around and tied across the chest.
 |
| Joachim Anthonisz Wtewael, circa 1620-25 |
A small ruff is pinned or basted to the collar of the partlet.
This ruff is 1" deep with 3/8" sets, but it really should be quite a bit smaller to match the portrait.
Next is a black wool partlet lined in white linen. Because I couldn't quite tell what was going in with the over-partlet in the painting I decided to just be lazy and use my old one, despite the fact that the painting definitely doesn't show a partlet that connects under the arms.
Again, lazy.
(though technically this partlet is also new-ish since the original suffered a
little accident...)
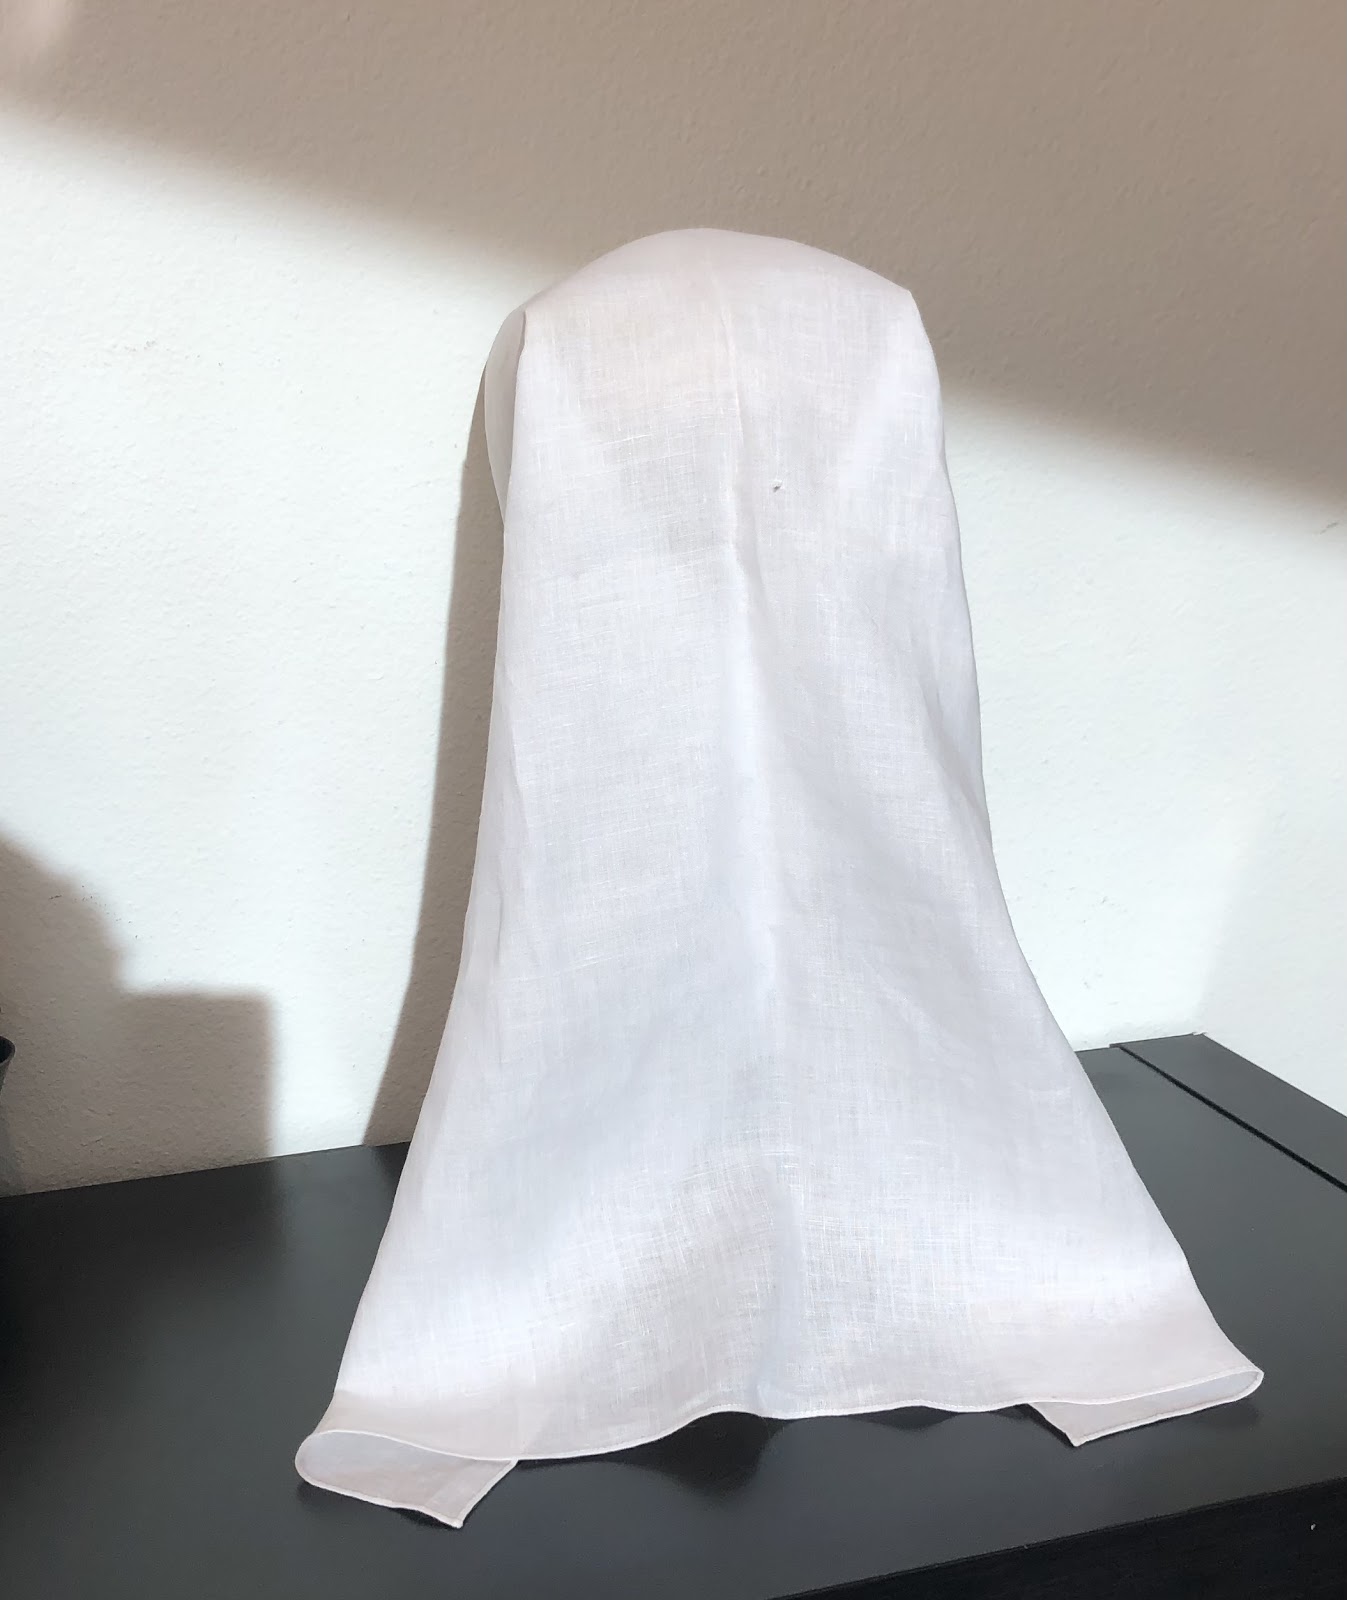
Topping it all off is a veil which is just a 20"x24" linen rectangle, worn over a close fitting coif. The front 6-8” (framing the face) is starched.
It’s then folded in half lengthwise and a crease is ironed into the starched section. Then it’s flipped over and pinned to the coif on top of the head and at the ears to push the sides up into a “heart” shape. Then the sides are folded back, under the drape of the veil and pinned behind the head.


And that's it!
My White Whale is done!
And then it sat on the shelf for months...

Unfortunately, I recently moved and so the trusty, neutral cement wall that served as my photo backdrop for so many years is no more!
And with lockdown restrictions still in place at the time, the only blank wall to be had within my apartment was behind the bedroom door.
Not bad, all things considered. But something was still missing...
THE CHICKEN!
I feel like poultry are central to so many of the images I want to reproduce. So the hunt began. And I have to say, it's actually really difficult to source a convincing chicken...and especially one that has to play dead.
In the end I stumbled upon Hansa, a stuffed toy company who makes several very good options, though it took a few tries to find a chicken of the right size and proportions. Consequently I now have quite a few stuffed chickens adorning the background of all my Zoom meeting (Like, way too many. Enough that it causes comment. A lot).
 |
| (No, seriously...this isn't even all of them...) |
Fast forward another 10 months. I'm now in possession of a chicken and a makeshift photo backdrop (though ironically, on a sunny day the bounce light from the janky behind-the-door setup was actually way more even and flattering...)
So let's document this thing!
And finally, the obligatory side by side (colour adjusted to more closely match the original).
And that's it for this one!
Still a couple tweaks I need to make. The kirtle is a tad long, especially in flat shoes, so I might have to take it up a couple of inches. I also set the veil a little too "heart-shaped" and so will pin it closer to the head in future.
But all in all, very happy with how it turned out!
Now, I've got quite the backlog of half-finished costumes to work through, so with any luck it won't be another three years before I post another update...
***
Resources & Materials
Pattern:
Fabric:
-Red worsted wool from the Historical Costuming Fabric & Trim Buy/Sell (Facebook Group)
-Hemp/cotton muslin for interlining (10.5) from
Hemp Traders-Muslin for mockup (also from Hemp Traders, but any muslin should do)
Trim and Notions:
Thread:
-Green silk thread
-Brown silk thread
-Red silk thread
-White cotton thread (silk finish) for veil
Other Supplies:
-Swedish pattern paper from
Amazon. (This stuff is great! You can iron it!)
-Pattern weights


No comments:
Post a Comment